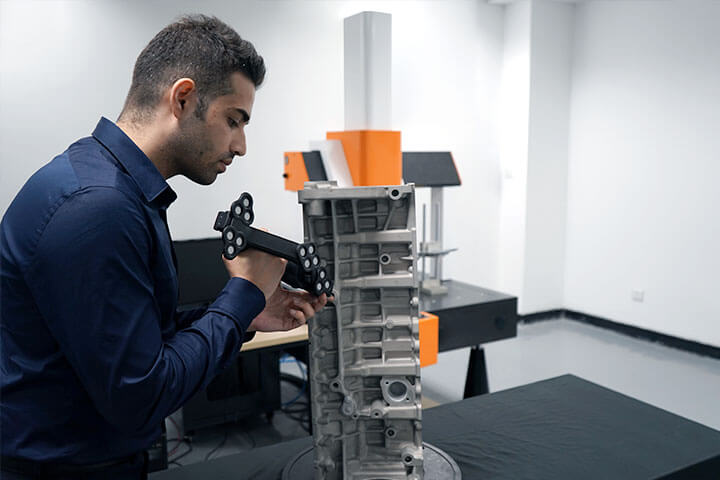
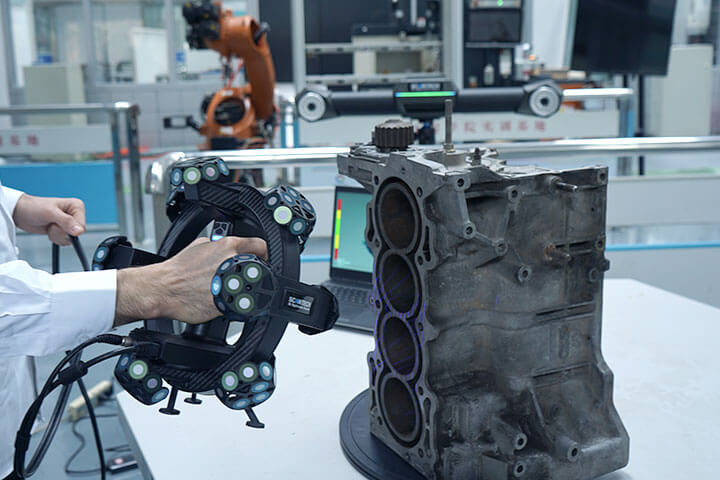
TrackScan-P42

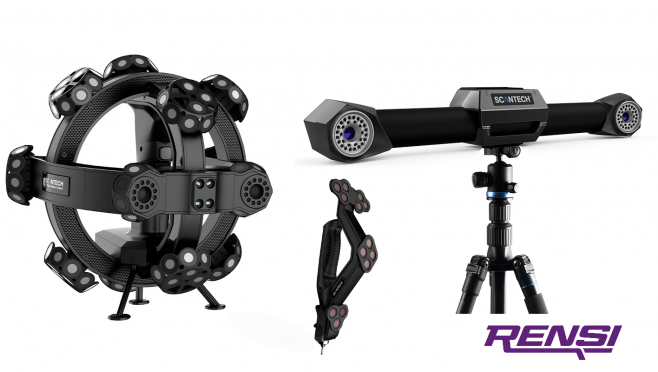
TrackScan-P42 3D system adopts intelligent optical tracking measurement technology and high-quality optical equipment. It carries out ultra-high precision dynamic 3D measurement without markers. This 3D system is widely applied to quality control, product development, reverse engineering, etc.
By freely switching multiple working modes, TrackScan-P42 caters to different scanning situations. Three scanning modes enable a variety of scene scans.
The equipped wireless portable CMM T-Probe delivers flexible measurement and precisely captures high-precision 3D data of gaps, hole positions, grooves and complex surface. By working with robot-arm, TrackScan-P series can also realize intelligent online automated 3D inspection.
Intelligent Tracking Without Markers
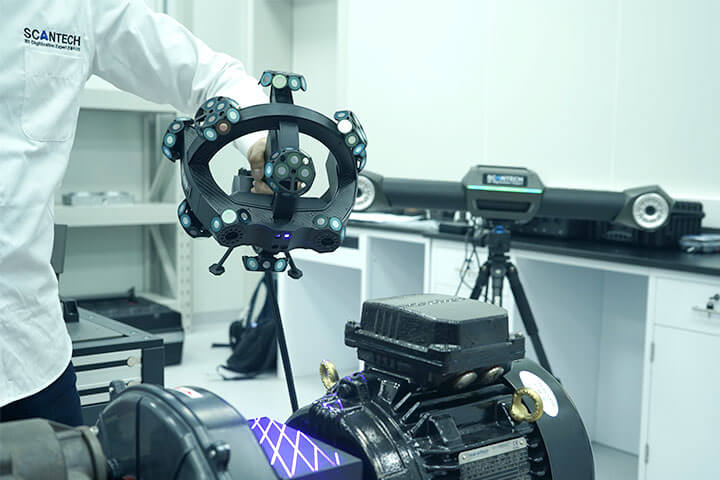
With intelligent optical tracking measurement, TrackScan-P42 3D system delivers instant scanning without markers, greatly improving work efficiency and decreasing cost.
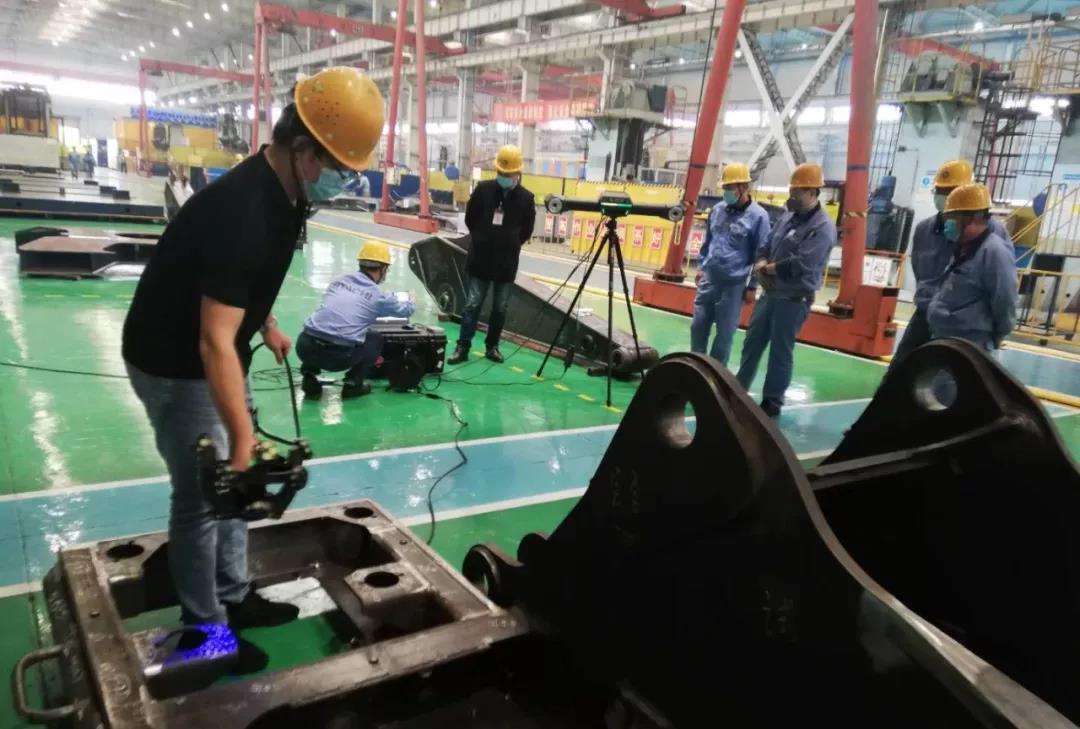
TrackScan: Best Scanner for large parts
Up to 17 crossed blue laser lines enable ultra-fast scanning rate of up to 1,900,000 measurements/s and smooth experience. 7 parallel blue laser lines work for detail capturing. Single blue laser line aims to fast obtain 3D data of deep holes and dead angle positions.

Strong Anti-interference Capability
Easily capture 3D data for shiny and black surface, strong anti-interference capability of environment, vibrations and thermal variations.

TrackScan; the fastest precision scanner on the market
Up to 17 cross-blue laser lines enable ultra-fast scanning of up to 1,900,000 rpm and a smooth experience. 7 parallel blue laser lines enable very accurate measurements even in demanding applications. The device also has a deep hole scanning mode where the device uses one particularly precise line.

TracScan-42 High-Power laserline
TrackScan has especially strong laserline witch allows better data capture on shiny and hard to get parts.

Use Cases for TrackScan:
3D Inspection
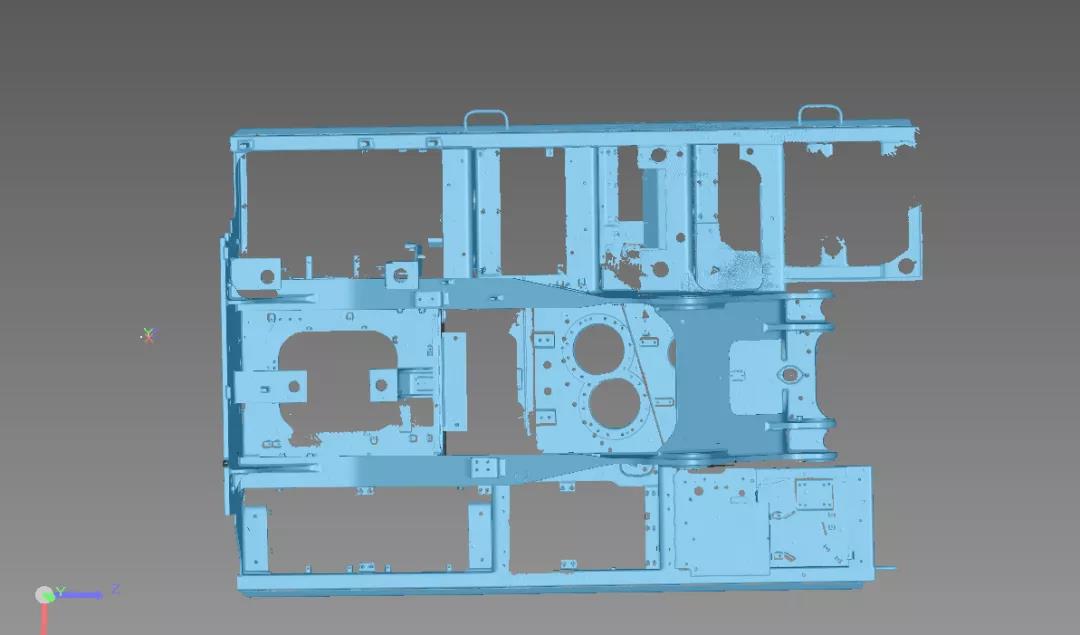
Scantech 3D measurement technologies truly deliver non-destructive inspection. Compared with contact measurement, 3D laser scanning is much faster and more flexible with capturing full 3D data. The 3D data of complicated curved surfaces, coaxiality and cylindricity can also be easily obtained, while the traditional solutions are difficult to achieve. However, handheld 3D scanners can get complete 3D data without causing damages to products.
Reverse Engineering
Scantech handheld 3D scanners can capture high-precision 3D data of objects for reverse engineering of mechanical products. The accuracy of 3D laser scanners can be up to 0.02 mm to ensure more accurate reverse modeling, which saves development cost and shortens development cycles for machinery manufacturers.
Maintenance
Mechanical wear is inevitable during the fabrication and application of mechanical products. Even small errors can cause huge losses, therefore, products’ maintenance is indispensable.
Mould Inspection
Moulds need to be repaired regularly due to mechanical wear, but how to fix and where should be repaired? KSCAN, SIMSCAN, TrackScan 3D scanners can quickly acquire the 3D data of whole moulds, and generate the color map by comparing 3D data against original drawings. These accurate measurement data build a solid foundation for moulds’ maintenance.
Read Manufacturers website about TrackScan

